Introduction
Vim and Neovim is something I have been really intrigued about for years, bet never actually spent the time setting it up and get familiar. Previously I have tried LazyVim, which was not a great experience. I felt it had too much bloatware and was too much to get my head around. I also tried various extensions in VSCode, but that felt even worse as some things was not working the way I was expecting and it was not fully integrated. Then I got kickstart.nvim recommended, which is a minimal and documented Neovim config maintained by the Neovim core community and decided to give it one more go.
Definition Of Done
As I have tried setting up neovim before, I want to have some criterias to know when I succeeded.
Those are as follows:
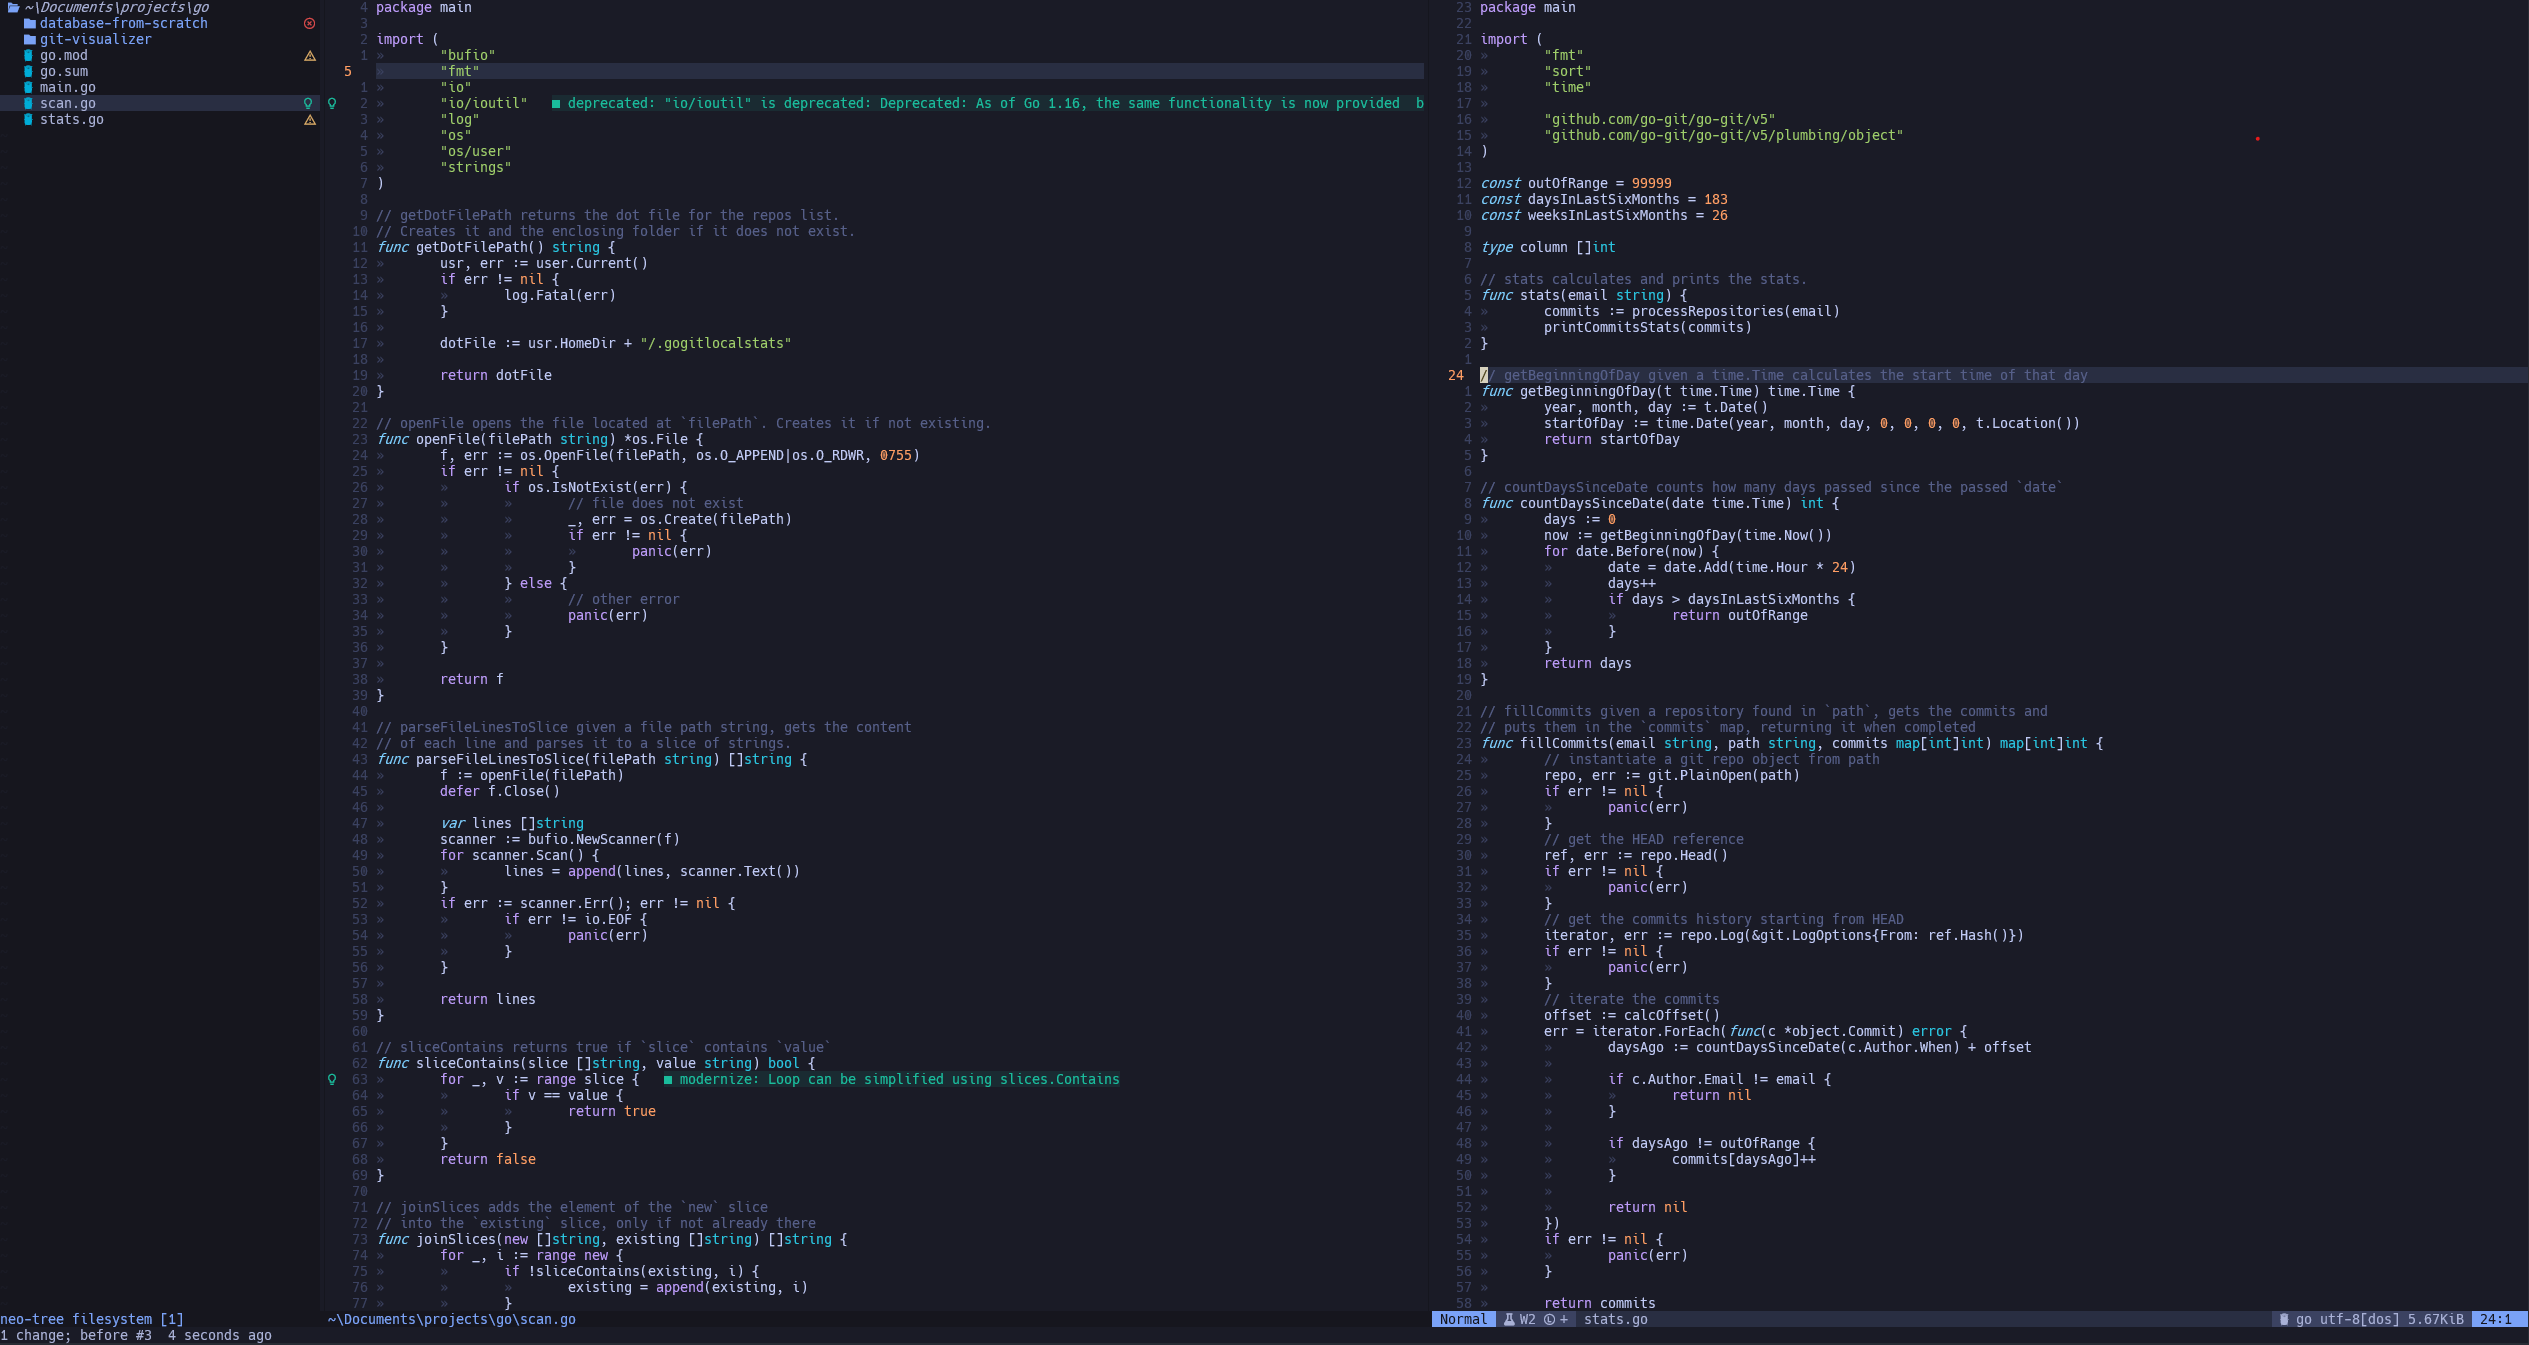
- Somewhat productive
- I can use it as a "regular" text editor, and it looks that way
- I can get the LSP server set up.
- I really enjoy the file tree on the right.
kickstart.nvim
kickstart.nvim is a minimal, well-documented Neovim configuration that serves as a perfect starting point for both beginners and experienced users. Here's why it stands out:
Why kickstart.nvim?
- Minimal by Design: Unlike other Neovim distributions, kickstart.nvim keeps things simple and understandable. It includes only the essential plugins and configurations needed to get started.
- Well Documented: Every line of code is thoroughly commented, making it easy to understand what each part does and how to customize it.
- Maintained by Core Community: Being maintained by the Neovim core community means it follows best practices and stays up-to-date with the latest Neovim features.
- Perfect for Learning: The configuration is structured in a way that helps you learn Neovim's configuration system (Lua) and plugin management.
Key Features
The configuration comes with several essential features out of the box:
- File tree navigation
- Fuzzy finding
- Git integration
- LSP support
- Syntax highlighting
- Status line
- Terminal integration
Getting Started
Setting up kickstart.nvim is straightforward:
- Clone the repository
- Copy the configuration to your Neovim config directory
- Start Neovim and let it install the plugins
- That's it! You're ready to go
The beauty of kickstart.nvim is that it gives you a solid foundation that you can build upon. As you become more comfortable with Neovim, you can easily modify the configuration to suit your needs.
Understanding LSP in Neovim
Language Server Protocol (LSP) is what transforms Neovim from a simple text editor into a powerful IDE-like environment. Here's what makes LSP so important:
What is LSP?
LSP is a protocol that standardizes how editors communicate with language servers. Instead of each editor implementing language-specific features (like code completion, error checking, etc.) for every programming language, they can just implement the LSP protocol once. The language servers then handle all the language-specific features.
Why LSP Matters
With LSP, you get:
- Intelligent code completion
- Real-time error detection and warnings
- Code navigation (go to definition, find references)
- Hover documentation
- Code formatting
- Symbol search
Setting Up LSP in Neovim
With kickstart.nvim, setting up LSP is straightforward:
- The configuration comes with LSP support out of the box
- Use Mason (Neovim's package manager) to install language servers
- For example, to set up Go development, you just need to install
gopls
The beauty of this setup is that you get all the modern IDE features while keeping Neovim's lightweight and efficient nature. It's like having the best of both worlds - the speed and simplicity of Neovim with the powerful features of a full IDE.
Result

All of the tasks that I defined in the Definition Of Done is completed, and the project is deemed successfull. I will now try to use my Neovim exclusively for a couple of weeks and see how it feels when I get more experience. Here are my config files, and above you can see an image of how it turned out.